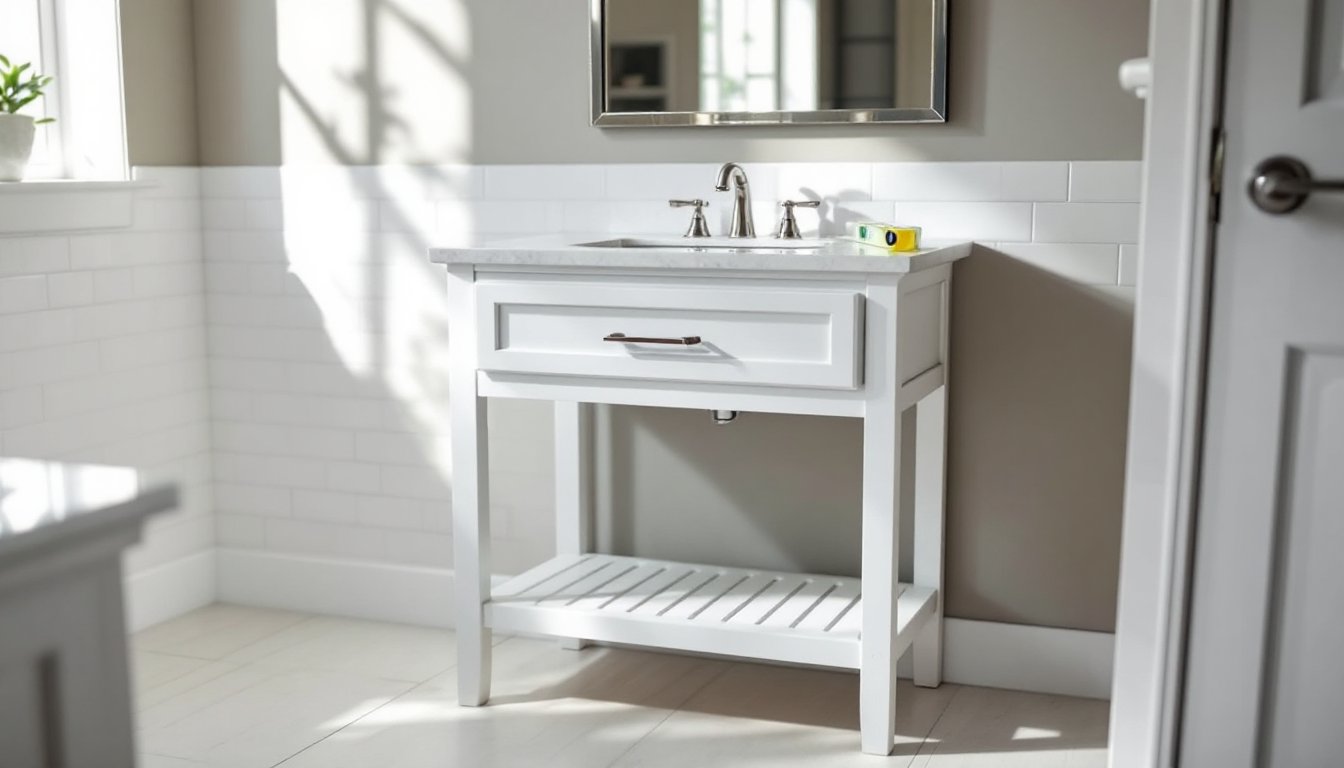
Single hung windows are a mainstay in countless homes, affordable, classic, and reliable. But when they start sticking, fogging between panes, or letting drafts in around the frame, replacement becomes the smart move. Whether you’re upgrading to energy-efficient models or simply refreshing tired windows, single hung window replacement is a manageable DIY project if you take it methodically. This guide walks you through removal, installation, and finishing touches to ensure your new windows seal tight and operate smoothly for decades to come.
Table of Contents
ToggleKey Takeaways
- Single hung window replacement improves energy efficiency and reduces heating and cooling costs, making it a worthwhile investment when windows show signs of condensation, water stains, or poor operation.
- Proper preparation—inspecting the rough opening for rot, leveling the sill, and gathering essential tools like pry bars, levels, and caulking guns—is critical to avoid binding, sealing failures, and costly rework.
- Secure the new window using ring-shank roofing nails or trim screws spaced 12 inches apart on the nailing flange only, then seal with expanding foam and silicone caulk to prevent water infiltration and drafts.
- Over-driving fasteners, neglecting weather sealing, and skipping safety measures like glove-wearing risk damaging the frame, compromising insulation, and exposing you to hazardous materials like lead paint or asbestos.
- Allow new windows to acclimate indoors at room temperature for a day before installation and wait 24 hours for caulk to cure before operating the window to ensure optimal performance and longevity.
Why Replace Your Single Hung Windows
Single hung windows wear out for predictable reasons. Seals fail, hardware rusts or breaks, and frames rot from water infiltration. Beyond function, older single hung windows are energy drains, single-pane or poorly sealed units let conditioned air escape and outdoor temperatures in.
Replacement offers immediate payoffs. Modern single hung windows with insulated glass and weatherstripping can reduce heating and cooling costs noticeably. Repair costs also add up fast: replacing a broken sash cord, fixing a stuck frame, or repainting a deteriorated window can cost more than you’d expect, and you’re still left with an aging unit. New windows also improve security, reduce exterior noise, and eliminate the maintenance headache of loose glazing putty or corroded hardware.
One realistic note: single hung window replacement isn’t urgent for cosmetic imperfections. If a window operates smoothly but looks dated, you might paint it or upgrade the hardware. But if you’re seeing condensation, water stains, or difficulty opening and closing, replacement is the permanent fix.
Tools and Materials You’ll Need
Gather tools before you start. You’ll need a pry bar (also called a cat’s paw), hammer, utility knife, caulking gun, level, tape measure, drill-driver, and screwdrivers (Phillips and flat-head). If your frames are painted shut, a oscillating multi-tool or reciprocating saw speeds up cuts. A power drill with a cutting wheel attachment helps with stubborn nails. For safety, wear work gloves, safety goggles, and a dust mask, old windows sometimes contain lead paint or asbestos caulk, so research your home’s build date and consider testing before disturbing old material.
Materials depend on your specific replacement window, but plan for shims (wooden wedges, roughly ⅜-inch thick), silicone or polyurethane caulk, expanding foam sealant, roofing nails or trim screws, and potentially flashing tape if your opening needs moisture protection. If the old frame is significantly rotted, grab pressure-treated lumber for blocking or frame repair. Measure your rough opening (the cleared space inside the wall studs) carefully: window dimensions are listed as width × height, but the rough opening should be ½ inch larger in each direction to allow for shimming and settling.
How to Remove Your Old Window
Start by carefully removing interior trim (the molding around the window frame) using a pry bar and hammer. Work from bottom to top, and go slowly, you might reuse this trim. Once trim is off, you’ll see the window frame fastened to the rough opening with nails or screws.
From the interior, use your utility knife to cut through any caulk or paint sealing the frame edges. Then, working from outside, carefully pry the window unit away from the frame. You may encounter some resistance: use your reciprocating saw to sever stubborn nails rather than forcing the frame and damaging surrounding siding or drywall.
Once the window is loose, carefully tilt it inward and lift it out. This is often a two-person job if the window is large or heavy, don’t force it solo and risk dropping it or straining your back. Set it down gently outside.
Now inspect the rough opening. Look for rotted wood, water stains, or soft spots in the sill or side studs. Small surface rot can be cleaned out and patched: deeper rot requires blocking with new pressure-treated lumber, sometimes demanding a licensed contractor to assess structural integrity. Check that the opening is roughly square using a level and tape measure, diagonal measurements should match within ¼ inch. If the opening is significantly off-square, you may need to shim or slightly cut the frame before installing the new unit.
Installing Your New Single Hung Window
Preparing the Opening and Frame
Before setting the new window, clean out all debris, old nails, and any remaining paint or caulk. Use your pry bar to straighten any bent nails left in the frame. If the sill isn’t level (check with your level), shim up the low side with wooden shims under the frame until it reads level both directions.
Some installers apply a bead of polyurethane caulk to the sill and sides of the opening to create a weather seal before the window goes in. This isn’t mandatory if you’ll seal afterward, but it adds a backup layer against water infiltration. Position the new window into the opening, making sure it sits straight and level. Most windows have a nailing flange (a flat rim extending beyond the frame) that fastens to the rough opening, don’t nail through the window sash or frame itself, only the flange.
Securing and Sealing the New Window
Using roofing nails (ring-shank, which resist pulling out) or trim screws, fasten the flange around all four sides. Space fasteners about 12 inches apart and avoid over-tightening, you want a secure hold, not crushed material. Use your level and shims to ensure the frame stays plumb (vertical) and level (horizontal) as you nail. If the opening is uneven, adjust shims under the sill and at the head (top) of the frame.
Once the window is fastened, apply expanding foam sealant around the gaps between the frame and rough opening. This fills voids and improves insulation. Use minimal expanding foam, too much can bow the frame and cause the window to stick. Let it cure per manufacturer instructions, then trim excess foam with a utility knife.
Finally, run a bead of silicone caulk around the exterior perimeter where the frame meets the siding. This blocks water and drafts. Inside, apply caulk at the interior trim line for a clean look. If the window has exterior flashing, install it now under the siding edge above the window to direct water away from the frame. Wait 24 hours for caulk to cure before operating the window or closing it tight.
Common Mistakes to Avoid
Skipping the rough opening inspection tops the list. A rotted sill or unlevel frame causes the new window to bind, seal poorly, or eventually fail. Take time to assess and correct the opening before installation.
Over-driving fasteners is another common pitfall. If you hammer nails or drive screws too hard, you distort the frame and can crack the glass or bend the sash channels. Secure fasteners should hold firm but not crush the window’s structure. When learning proper installation techniques, resources like detailed aluminum window replacement discussions from experienced builders can clarify best practices.
Neglecting weather sealing leaves your new investment vulnerable. A properly sealed window shouldn’t leak water inside even during heavy rain. Use caulk and foam conscientiously. Conversely, don’t over-seal: if foam expands too much, it bows the frame and prevents smooth sash operation.
Reusing old interior trim without checking its condition leads to moisture problems later. If trim is painted or stained heavily, water might sit behind it rather than draining. Paint or seal new trim before installation, or install new trim designed for the moisture barrier.
Forgetting to acclimate new windows if you’ve stored them in the sun or cold can cause expansion or contraction during installation, throwing off your level and shim adjustments. Let new windows sit indoors at room temperature for a day before installing them. For guidance on timing and technique, home renovation tutorials and remodeling guides offer step-by-step visual walkthroughs that reinforce these principles.
Not wearing gloves when handling old frames and hardware is a safety oversight. Old windows may harbor lead paint dust, asbestos caulk, or sharp metal edges. Protect yourself with work gloves and respiratory protection if you suspect hazardous materials. When in doubt, consult local health guidelines or hire a professional abatement specialist. Expert home improvement advice and DIY project guides often stress these safety precautions upfront.